What if logging into all your business applications was as easy as logging in once? No more lost passwords or typing them in multiple times. This isn’t fantasy; it’s the truth of SSO Integration, and it’s revolutionizing how businesses handle access. Single Sign-On (SSO) allows users to access multiple applications and services with one set of login credentials. It is a master key that really makes logging in fast and simple for your team. In this blog, you will learn about SSO and how to implement it through Okta tools.
What is Single Sign-On (SSO)?
SSO Single Sign-On a smart way to log in. It lets you sign in just one time. After signing in you get access to all your different work apps and websites. You get access without needing to type your password again each time.
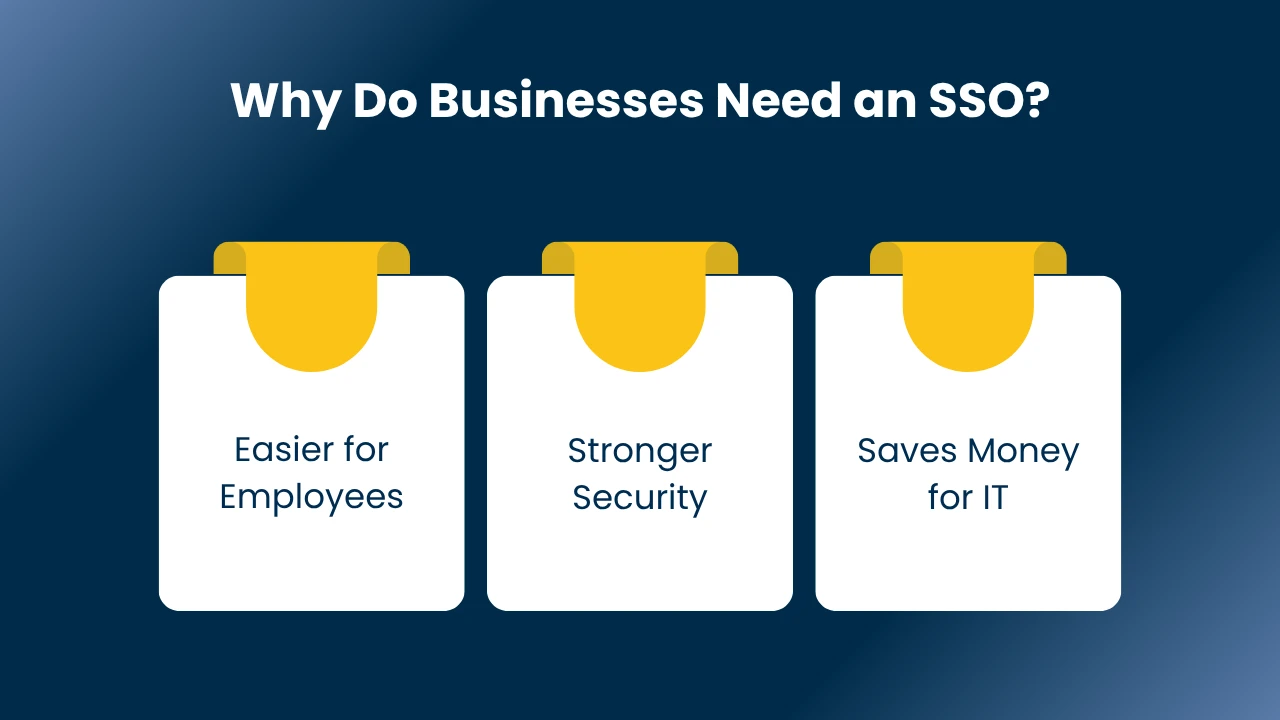
Why Do Businesses Need an SSO?
1. Easier for Employees
SSO integration helps your team to get a much better experience. They do not need to remember multiple passwords for different apps! They just log in once and can move smoothly from one task to another. Therefore, it leads to saving a lot of time and frustration.
2. Stronger Security
Having less passwords decreases the chances for weak or reused ones. This makes your systems safer. Additionally, if someone leaves the company. You can quickly remove their access from all apps at once.
3. Saves Money for IT
This saves your business both valuable time and money in the long run.
Also Read: 10 Best Online Certified Okta Training in Lucknow in 2025
SSO Integration Types
When we talk about SSO integration types. We often look at how different systems talk to each other. We have mentioned the most common types below.
1. SAML (Security Assertion Markup Language)
This is a widely used open standard for exchanging authentication and authorization data between an identity provider (IdP) and a service provider (SP). It’s like a common language these systems speak. We will discuss SAML SSO integration in detail later.
2. OAuth (Open Authorization)
Often used for giving third-party applications limited access to user accounts without sharing passwords. Think about logging into an app using your Google or Facebook account.
3. OpenID Connect (OIDC)
Built on top of OAuth 2.0, OIDC adds an identity layer. It lets clients verify the identity of the end-user based on authentication performed by an authorization server.
4. LDAP (Lightweight Directory Access Protocol)
This is a database that stores user information. Many older systems use LDAP for user authentication.
Each type has its own strengths and is suitable for different situations. For modern web applications, SAML and OpenID Connect are very popular.
Understanding Okta for SSO
Okta is a well-known identity management service. It helps businesses manage who can access what applications and devices. Okta works for cloud apps and even some apps on your own servers.
1. Single Sign-On (SSO): This is its main strength. It lets users log in once to access many apps.
2. User Management: Easily add or remove users.
3. Multi-Factor Authentication (MFA): Adds an extra layer of security with things like OTPs or fingerprint scans.
4. Integration with Directories: Works well with Active Directory (AD) and LDAP.
For Okta SSO integration, many applications use the SAML 2.0 protocol. You can use Okta for just authentication (checking who you are) or for both authentication and authorization (checking what you can do).
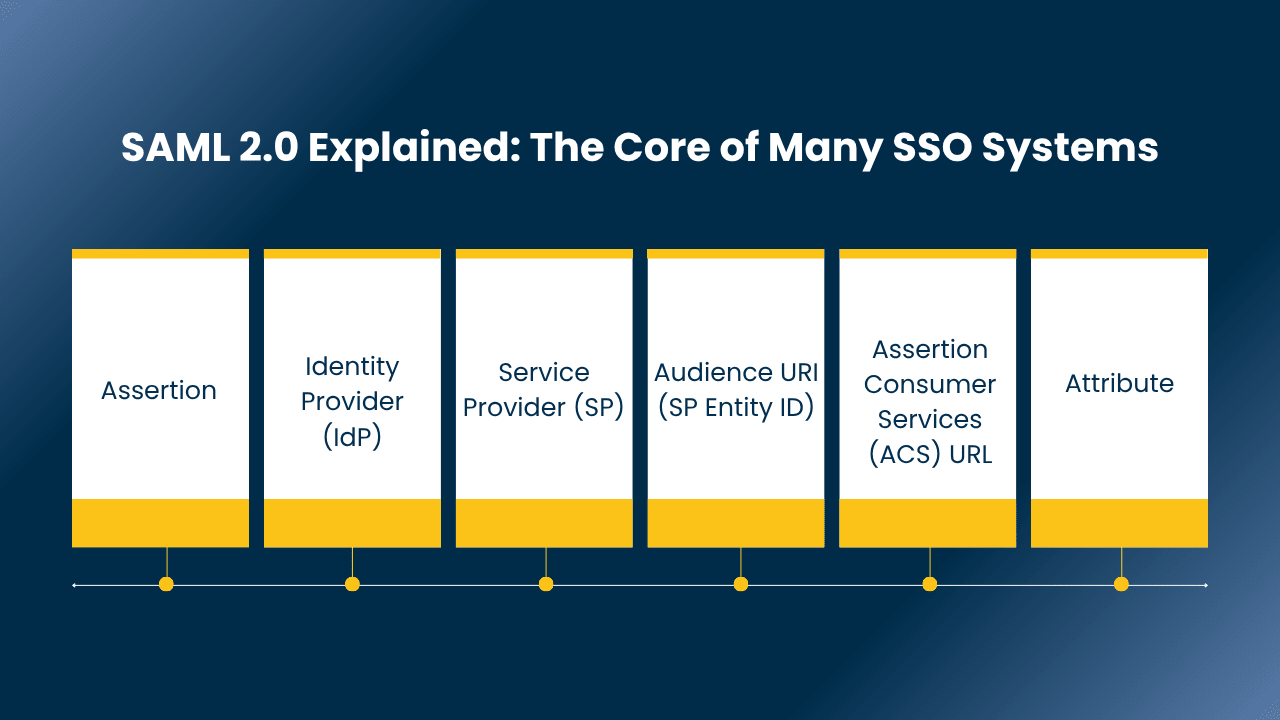
SAML 2.0 Explained: The Core of Many SSO Systems
Security Assertion Markup Language (SAML) is an open standard. It helps identity providers (IdP) share login details with service providers (SP). The main idea is simple: use one login to get into many different websites or apps. This makes SAML SSO integration very efficient.
1. Assertion: This is an XML message. It passes between the service provider and the identity provider. It contains proof of a user’s identity.
2. Identity Provider (IdP): This is a trusted system that checks your identity. Okta is an example of an IdP.
3. Service Provider (SP): This is the web application or service that you want to access.
4. Audience URI (SP Entity ID): A unique name for the service provider. Both IdP and SP must agree on this name.
5. Assertion Consumer Services (ACS) URL: The address at the service provider where the IdP sends the login message (assertion).
6. Attribute: This is unique information about a user, like their email or name. It passes inside the assertion.
How SAML 2.0 Authentication Works
Understanding the flow of SAML 2.0 helps grasp single sign-on example processes.
1. User Tries to Access App: A user tries to open a web application (the Service Provider).
2. SP Checks User Status: The application checks if the user is already logged in.
3. Redirection to IdP: If not logged in, the application sends the user to the Identity Provider (e.g., Okta) for login.
4. User Logs In (if needed): The user logs into the Identity Provider.
5. IdP Sends SAML Response: After successful login, the IdP creates a SAML Response. This message includes the user’s login details. It sends this back to the Service Provider.
5. SP Verifies Response: The Service Provider checks the SAML Response. It makes sure the message is real and from a trusted IdP.
6. User Gets Access: If everything is fine, the Service Provider lets the user access the application.
This whole process usually happens very fast. The user might not even notice the redirection happening. This is a common SSO integration example that happens every day.
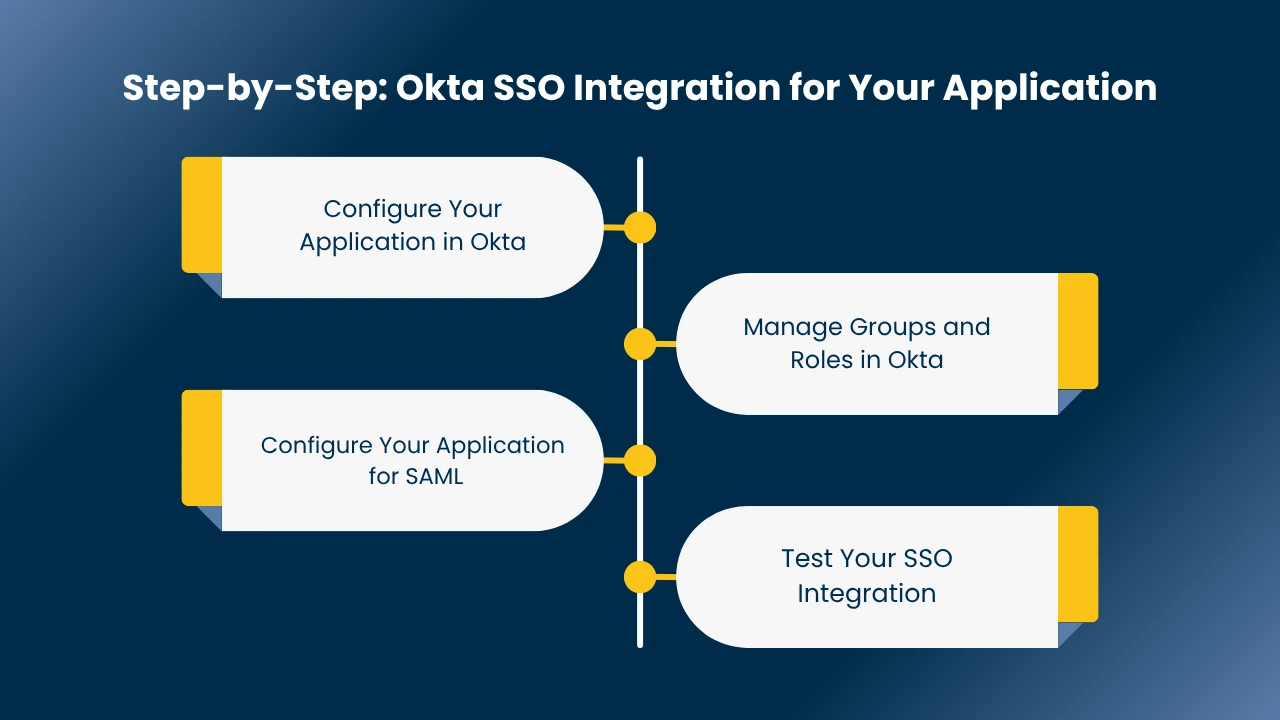
Step-by-Step: Okta SSO Integration for Your Application
Let’s walk through how you might set up SSO integration with Okta for a web application. This is a practical okta sso integration guide.
1. Configure Your Application in Okta
1. Login to Okta: Go to your Okta admin dashboard.
2. Create New App: Find “Applications” and click “Create App Integration.”
3. Choose SAML 2.0: Select “SAML 2.0” as the sign-on method.
4. App Details: Give your application a name (e.g., “My Business App”). You can also upload your app’s logo.
5. SAML Settings: This is a key part.
- Single Sign-on URL: This is the URL where Okta sends the SAML response. It should be an SSL-enabled URL of your application, for example, https://your-app.com/saml/sso.
- Audience URI (SP Entity ID): This is a unique identifier for your application. It must match what you configure in your application. An sso integration example for this could be https://your-app.com/saml/metadata.
- Attribute Statements: Map user details from Okta to your application. Common ones include userId, firstName, lastName, and email. Make sure these names match exactly in both Okta and your application.
6. Finish Configuration: Complete the steps in Okta.
2. Manage Groups and Roles in Okta
Okta helps manage user roles easily.
1. Create Groups: In Okta, you can create groups (e.g., “Okta.MyApp.Admins,” “Okta.MyApp.Users”).
2. Assign Users to Groups: Add your users to these groups.
3. Map Roles: In your application, you will map these Okta groups to your internal application roles. For example, the Okta group “Okta.MyApp.Admins” might map to an “ADMIN” role in your application. This makes role management simpler.
Read More: 50+ Best Okta Interview Questions and Answers for 2025
3. Configure Your Application for SAML
This step depends on your specific application. Most modern applications have settings to support SAML.
1. Get Okta Metadata: In Okta, find the “Sign On” tab for your application. Look for an “Identity Provider metadata” URL. This URL provides an XML file. This file contains all the necessary Okta information (like certificates and endpoints) that your application needs to trust Okta.
2. Update Application Settings:
- Find the configuration file or settings page in your application (e.g., oasis.properties or similar).
- SAML Metadata URL: Paste the Okta Identity Provider metadata URL here.
- Entity Base URL: Set this to your application’s public web URL (e.g., https://your-app.com).
- Security Type: Change your application’s security setting to SAML. This tells your app to use SAML for authentication.
3. Restart Application: After making changes, restart your application server for the new settings to take effect.
4. Test Your SSO Integration
After setting up, it’s crucial to test everything.
1. Login as a Test User: Try logging into your application. It should redirect you to Okta, where you’ll log in, and then you’ll be sent back to your application, now logged in.
2. Check Roles: Make sure the user’s roles are correct based on the groups assigned in Okta.
Conclusion
SSO Integration offers a powerful way to simplify logins and boost security for your business. By understanding SSO integration types and using platforms like Okta with protocols like SAML, you can give your team a smooth, single sign-on experience. This not only saves time but also makes your overall system more secure. Implementing sso integration with okta is a smart move for any growing digital workplace.


